


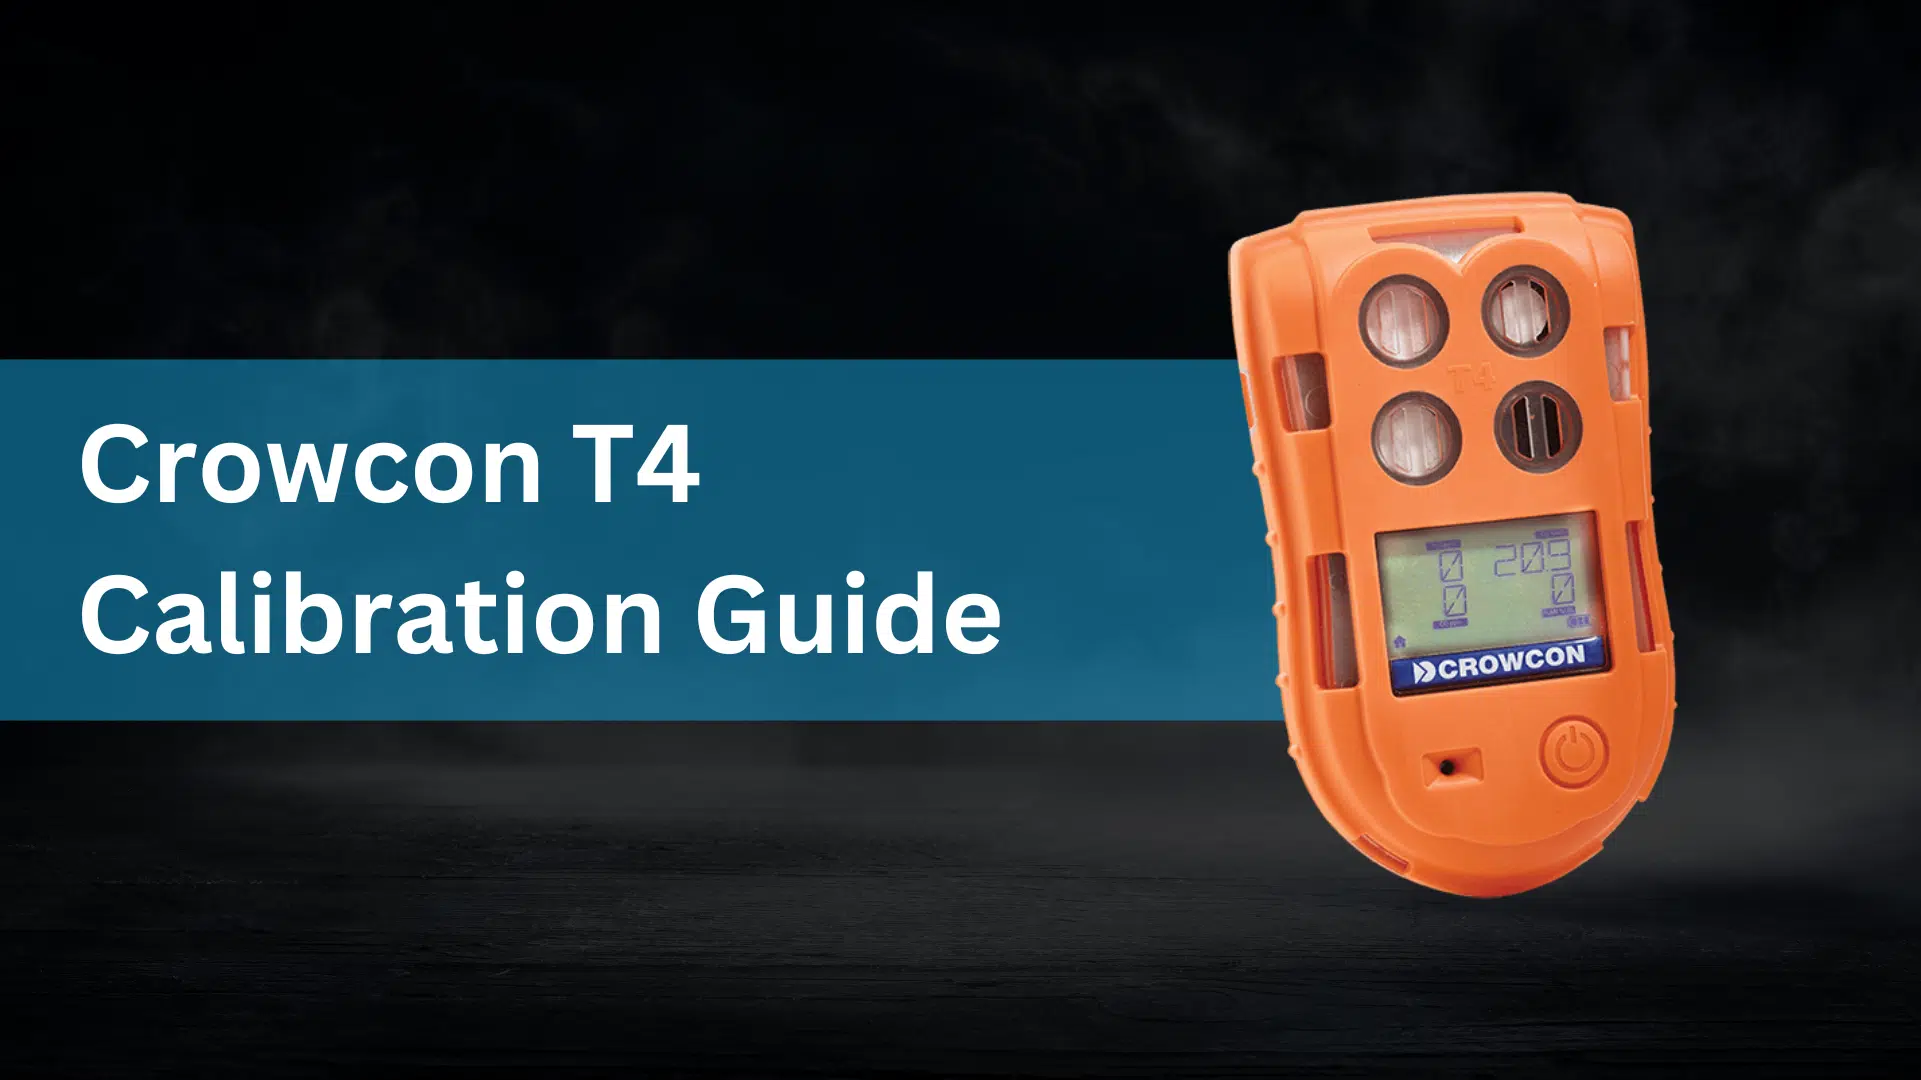
Crowcon T4 Calibration Guide: Step-by-Step for Reliable Gas Detection
If you’re using the Crowcon T4 gas detector, you already know how important it is for your workplace safety. But to keep it reliable, regular calibration is non-negotiable. A poorly calibrated detector can give false readings—or worse, fail to alert you to danger. So, let’s break down exactly how to calibrate your Crowcon T4 properly.
Why Calibrating Your Crowcon T4 Matters
Gas detectors drift over time due to exposure, environmental conditions, and sensor wear. Calibration ensures accuracy by adjusting the device’s readings to match a known gas concentration. If your Crowcon T4 isn’t properly calibrated, you’re gambling with safety.
Here’s a step-by-step guide to performing a manual calibration:
Preparation:
Ensure Clean Air Environment: Before starting, make sure the T4 device is in a clean air environment, free from any contaminants.
Gather Calibration Equipment: You’ll need the appropriate calibration gas mixture, a calibration cap, and tubing.
Calibration Steps:
- Turn on the T4 device.
- From the home screen, double-click the operator button to access the menu.
- Scroll to the calibration icon (a ‘C’) using single clicks.
- Double-click the operator button to select it.
Zero Calibration:
- A countdown will begin for zero calibration.
- Ensure the device is in clean air.
- Press the operator button before the countdown ends to start zero calibration.
- Successful zeroing will display a tick (✔) for each sensor; a cross (✘) indicates failure.
Apply Calibration Gas:
- Attach the calibration cap to the T4 device.
- Connect the tubing from the calibration gas cylinder to the cap.
- When prompted by the device, apply the calibration gas.
- The device will detect the gas and display real-time readings.
Calibration Confirmation:
- Once the readings stabilise, the device will indicate the calibration results.
- A tick (✔) signifies a successful calibration for each sensor; a cross (✘) denotes failure.
- After completion, remove the calibration cap and turn off the gas supply.
Want to know how to bump test the Crowcon T4?
Crowcon have created the below video to support you!
Need calibration gas or tools? Shop Crowcon T4 accessories now and keep your device in top shape!
Alternatively, complete the form below.